
Wood, Cabinets, and Fixtures
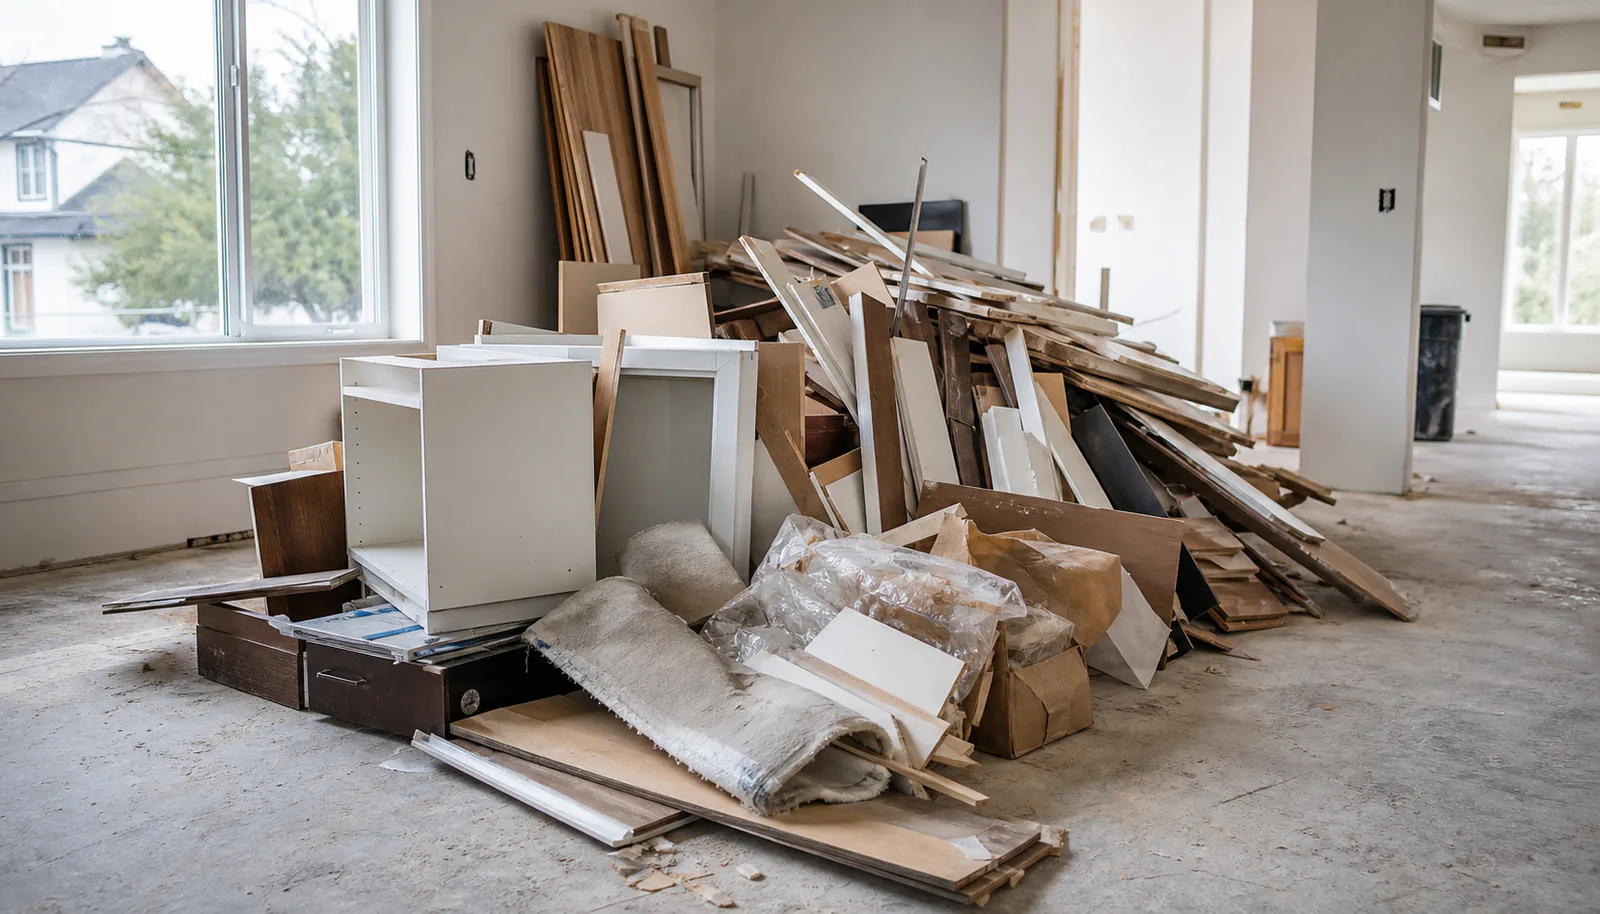
Loose lumber, cabinet parts, doors, trim, and removed household fixtures are useful to photograph as a group.
Construction Debris Removal
We haul debris from remodels, repairs, and household projects. Tell us what needs to go and where it is, and flag any heavy or unusual materials so we can confirm the right handling.
Project Materials
Material type matters as much as pile size. Start with the main group, then point out anything dense, sharp, wet, or mixed in.
Loose lumber, cabinet parts, doors, trim, and removed household fixtures are useful to photograph as a group.
Carpet, flooring pieces, packaging, and smaller mixed renovation material can be reviewed with the rest of the request.
Modest quantities of drywall and similar household-project material can be included with the material list.
Concrete, brick, tile, plaster, soil, and roofing benefit from quantity and condition details.
Identify large sharp edges, exposed nails, or material that is difficult to contain.
Send photos of anything that does not fit a clear category before assuming it can be included.
Before You Book
Photos and a material list help us understand the amount, condition, access, and disposal needs.
When a material is uncertain, keep it separate and identify it in the request. Do not mix hazardous or unknown material into an ordinary debris pile.
Photos That Help
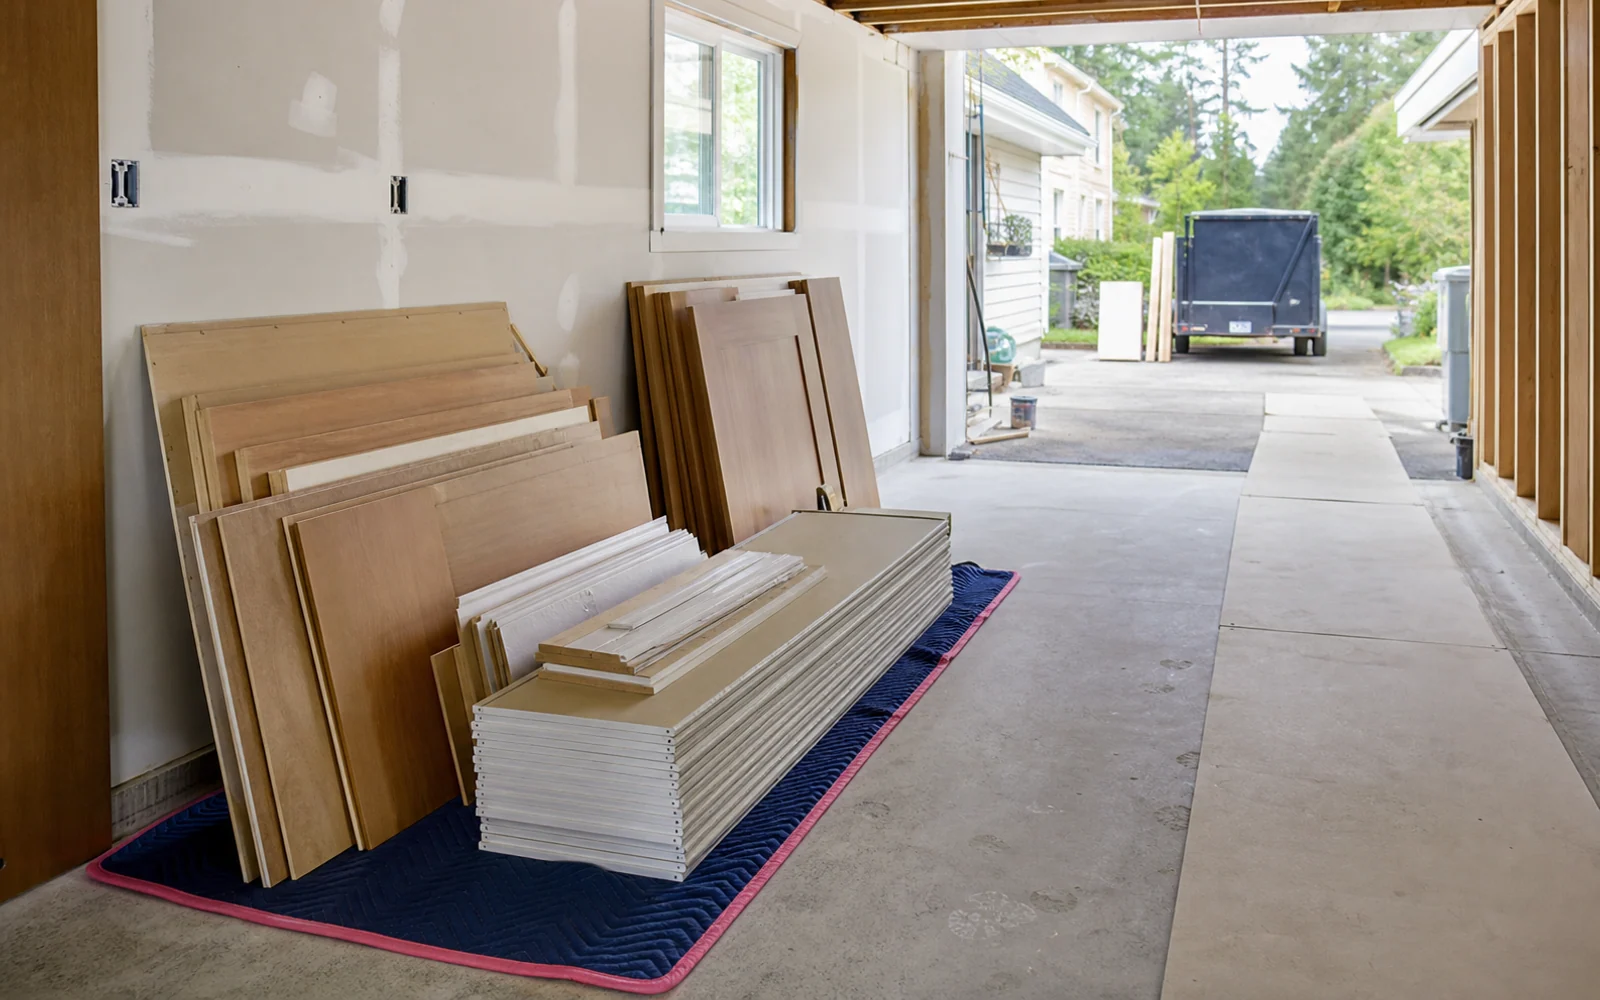
A close photo identifies the debris. A wider photo shows how much there is and how it reaches the loading area.
Project Timing
Describe where the project stands and what will be ready. Pickup timing remains subject to the reviewed material, scope, schedule, and availability.
Clear an accepted debris group before the next part of the household project.
Remove identified material left after a repair, installation, or renovation is complete.
Review accepted debris already grouped near a practical loading area.
Keep unlike or questionable materials separate so each group can be reviewed accurately.
From Material to Pickup
Tell us which materials need hauling and flag anything hazardous or unusual.
Send a photo of the full pile so we can estimate volume and weight.
Tell us where the debris is and mention stairs, gates, or a long carrying route.
We confirm what we can take, arrange a pickup time, and agree on your price before loading.
Our crew loads the agreed debris and hauls it to an appropriate disposal or recycling facility.
Pricing
Pricing can depend on material type, weight, volume, labor, stairs, carrying distance, sharp or difficult pieces, containment needs, and disposal requirements. The price is confirmed before loading begins.
See How Pricing WorksReal Flying Flamingo Work
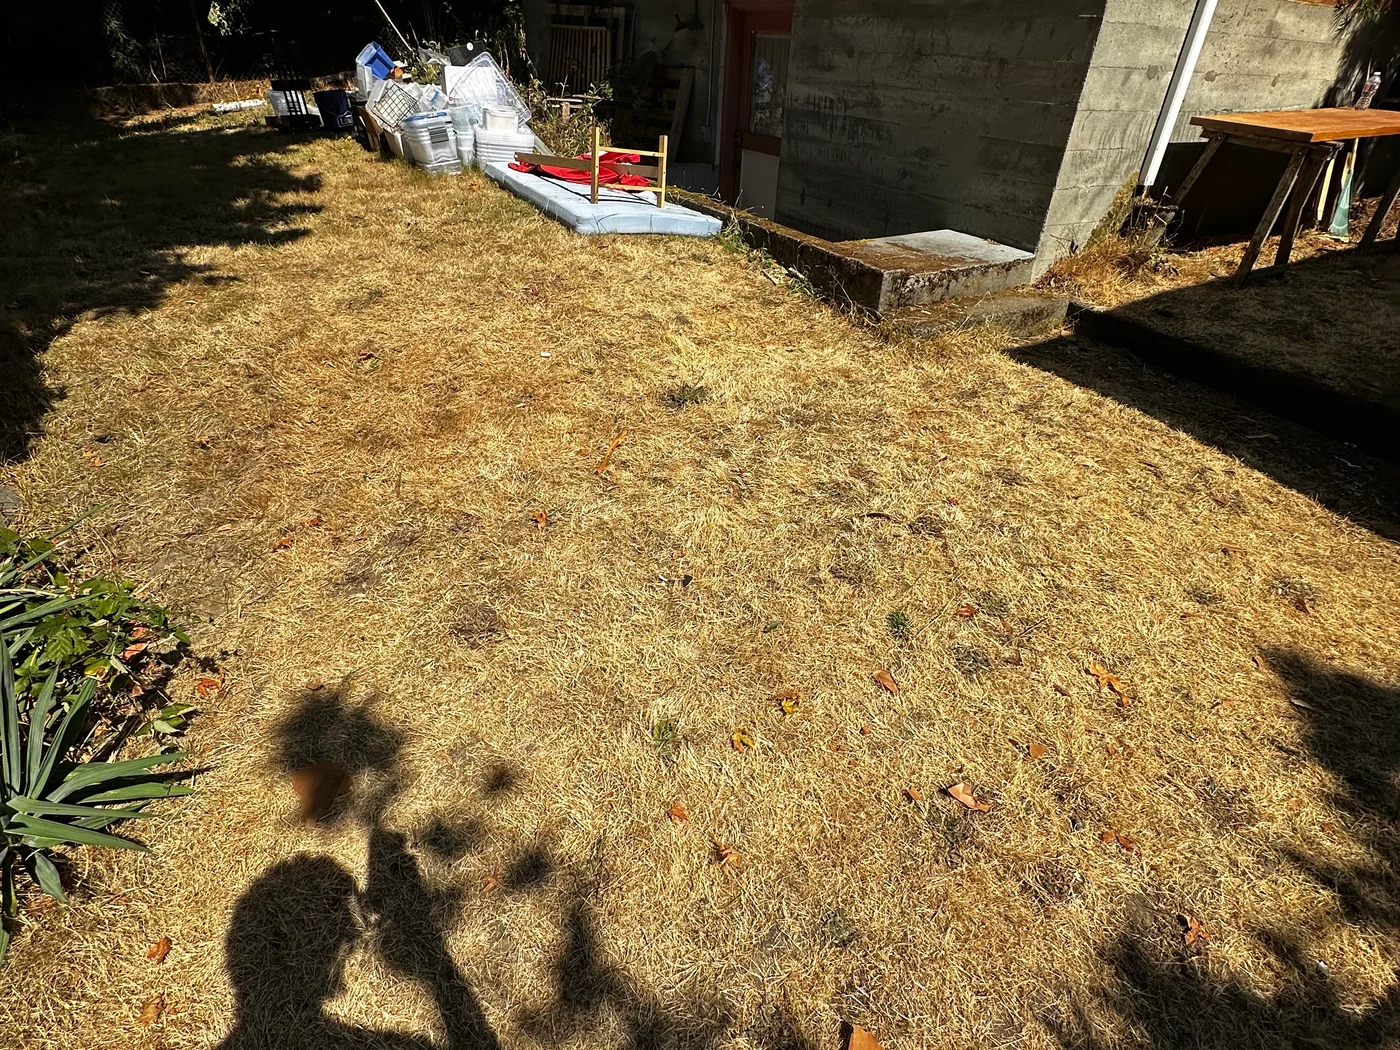
We removed this large outdoor pile of frames, cardboard, and packing material. The main pile is gone in the after photo; other items farther along the wall remained. See the full job for more photos.
View Frame and Cardboard Pile Removal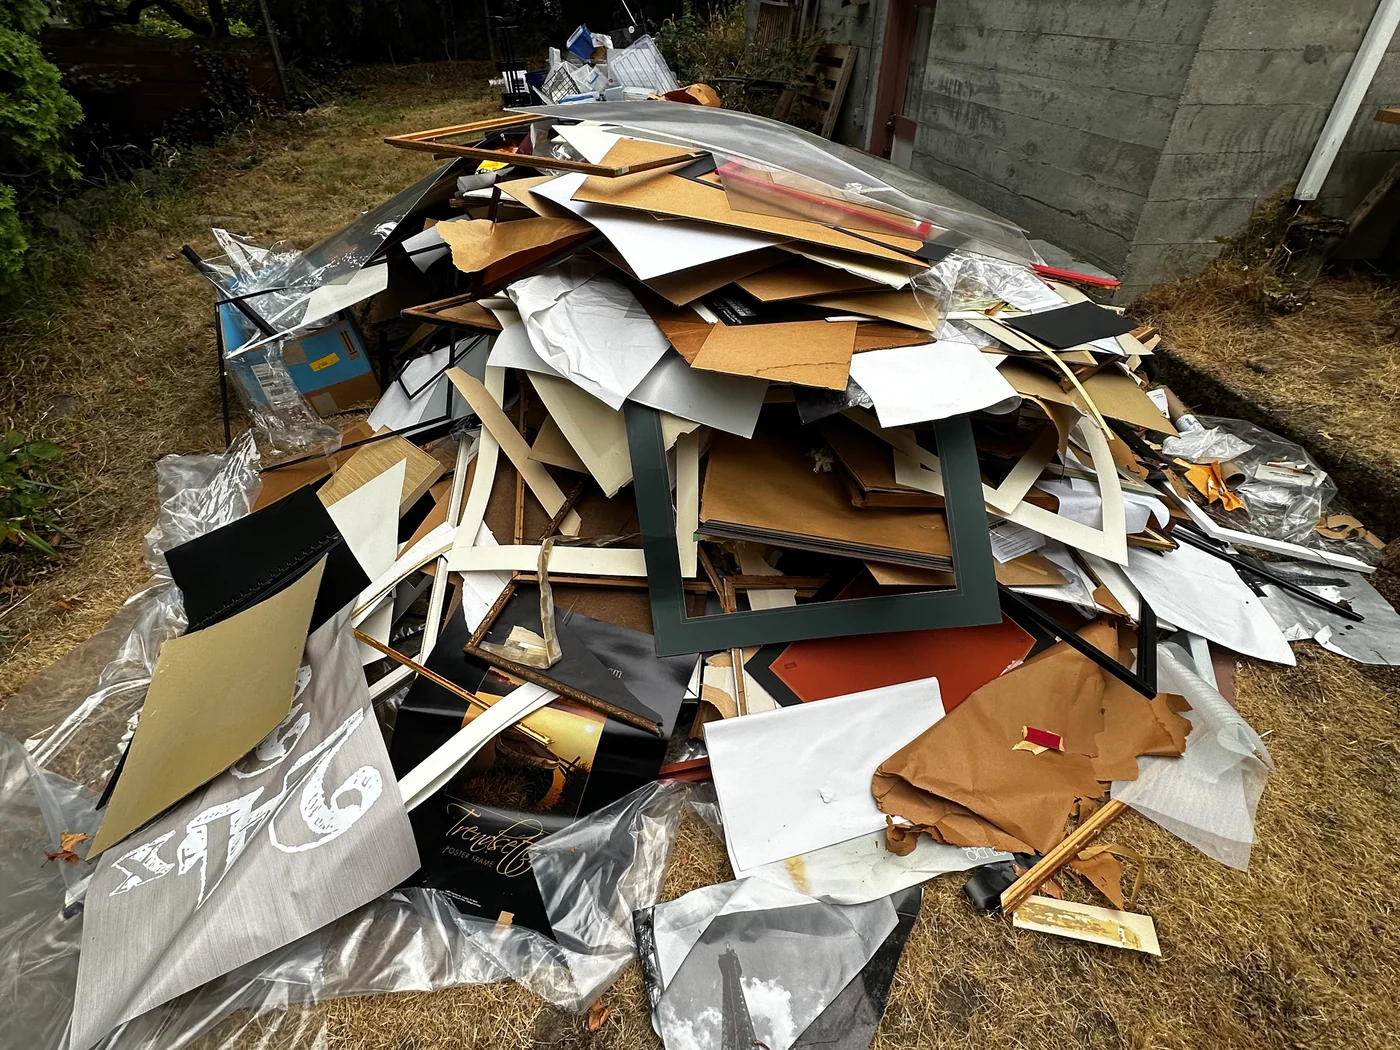
FAQ
Quick answers before you send a request.
Send photos and a material list for wood, cabinets, fixtures, flooring, carpet, packaging, and other household project debris. Acceptance depends on material type, amount, condition, access, and disposal requirements.
Not always. Show how the debris is currently staged. Keep different or questionable materials separate where practical, but do not handle sharp, heavy, or unsafe material just to prepare it.
Yes. Tell us what debris is ready to go and when you need it removed. We will confirm the materials we can haul and an available pickup time.
Do not assume these materials are accepted. Send photos, quantity, condition, and access details first because dense or specialized debris may need separate handling or another provider.
Include the full pile, close views of each material type, how the debris is contained, sharp edges or nails, stairs or gates, carrying distance, and the loading area.
No. This service covers hauling away construction debris. Demolition is separate, and hazardous or restricted materials are not included.
Flying Flamingo Junk Removal
Send photos of the material, amount, staging, and access route for review.